Guides
Exporting for YouTube, Shorts and TikTok: specs, subtitles and chapters
Upload the 16:9 1080p render to YouTube with its SRT or VTT subtitle files and the scene start times as chapters, then post the 9:16 cut or the vertical scene clips, with subtitles burned in, to Shorts and TikTok. Animey writes every file to those specs, 24 fps H.264 with AAC audio mixed to −14 LUFS, and rendering costs no credits, so you can render once for each destination.
By the Animey team6 min read
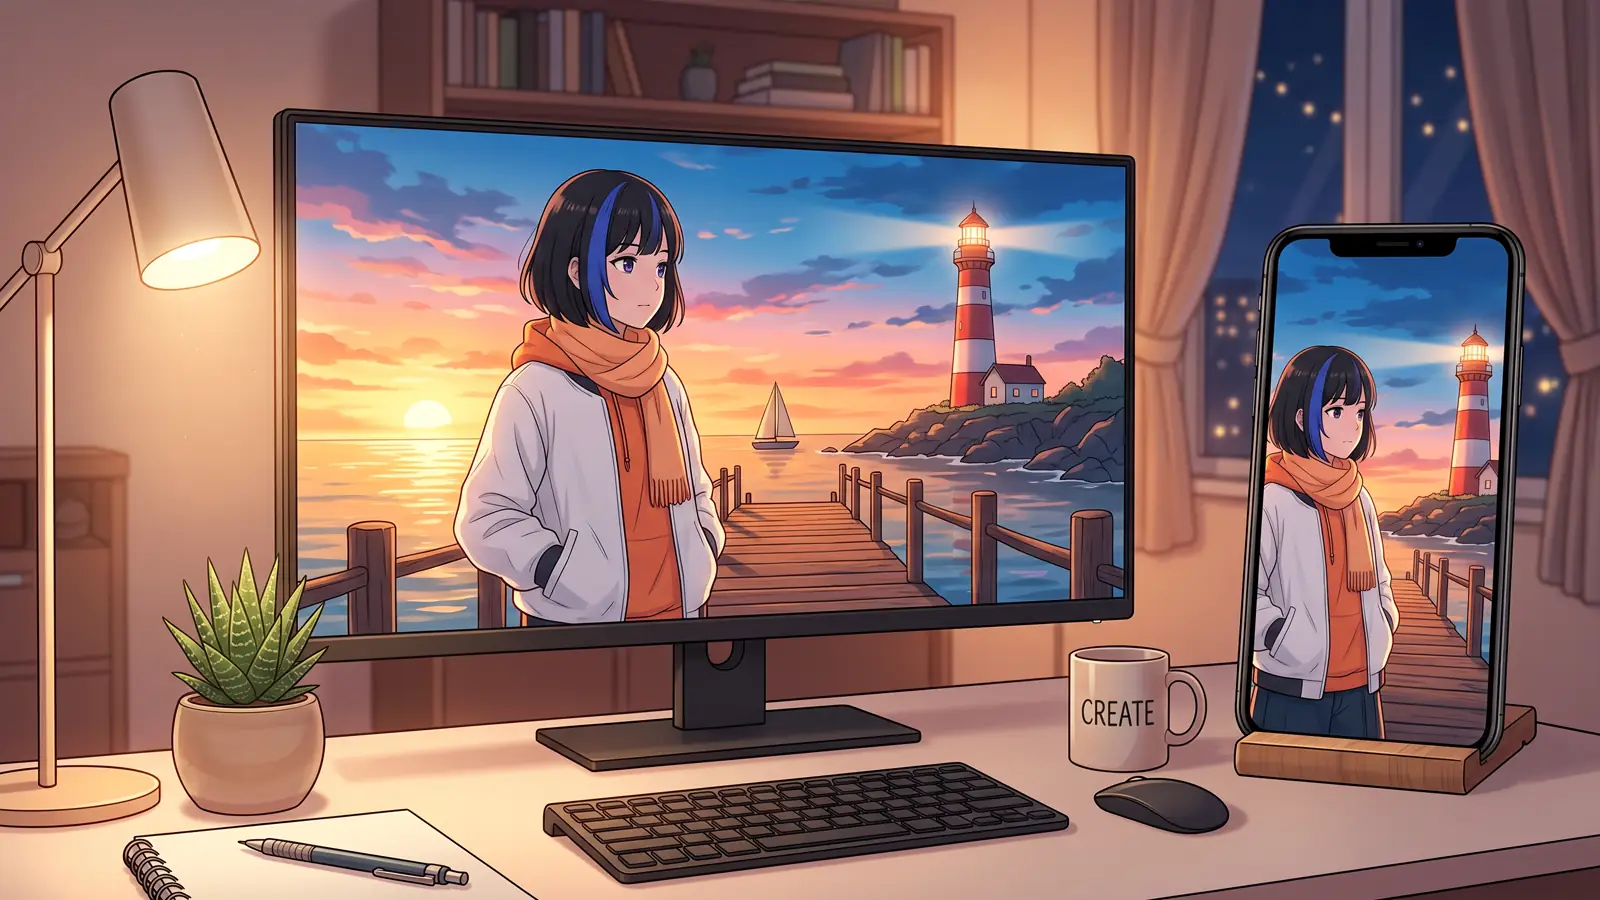
When an episode is finished, the last job is to get it onto the platforms without losing quality, subtitles or structure. This guide covers what a render from Animey, an AI anime studio by Softforge Digital, contains, and how to use each file on YouTube, Shorts and TikTok. Platform rules are given as of September 2026, when we checked them, and they change, so check each platform’s help pages before a big launch.
What a render contains
| File | Specs |
|---|---|
| Episode, 16:9 | 1920×1080 MP4, H.264 High profile, 4:2:0, 24 fps |
| Vertical cut, 9:16 (optional) | 1080×1920 MP4, same encoding, framed shot by shot |
| Audio, inside every MP4 | AAC at 192 kbps, 48 kHz stereo, −14 LUFS integrated, true peak −1.5 dBTP |
| Subtitles | SRT and VTT for the dialogue language and up to three others |
| Scene clips (optional) | One MP4 per scene and per format, without chapters |
| Thumbnail | A still image of the episode |
| ZIP | Every file above in one download |
The MP4 files start playing before they finish downloading, because their index sits at the front of the file. The episode files carry one chapter marker per scene (scene clips have none), and every MP4 carries the comment “AI-generated with Animey” in its metadata. A render never changes: after an edit, you render again and get a new version, and the earlier ones stay in the history.
Export in seven steps
Step 1
Render the 16:9 version without burned-in subtitles
On the render page, tick the subtitle languages you want as files, leave the subtitles in the picture off and keep music, title card and end credits on. YouTube shows its own captions, which viewers can turn on, restyle or translate.
Step 2
Upload the 16:9 MP4 to YouTube
Upload the file as it is: it matches YouTube’s recommended container and codecs, MP4 with a fast-start index, H.264 video in 4:2:0, AAC audio at 48 kHz and the frame rate it was made in. YouTube turns loud videos down during playback, and −14 LUFS is close to the level it is commonly measured to target, so the episode keeps its dynamics.
Step 3
Add the subtitle files
In YouTube Studio, open Subtitles and upload the SRT or VTT file of each language. The cues are timed from the voiced dialogue, so they stay in sync with the lines.
Step 4
Add chapters to the description
Open the episode’s review link: it lists every scene with its start time. Copy them into the video description as timestamps, starting with 0:00 for the first scene. YouTube needs at least three timestamps in ascending order and chapters of at least 10 seconds, so an episode with only two scenes, which a one-minute episode can have, gets no chapters.
Step 5
Render again for vertical platforms
Rendering is free, so make a second render with the 9:16 cut, scene clips and subtitles burned into the picture in one language. Before you do, check each shot’s crop handle in the 9:16 preview of the scene board.
Step 6
Post to Shorts and TikTok
YouTube treats a vertical or square video of up to three minutes as a Short. Post the whole 9:16 cut when the episode is short enough, or the 9:16 clips of its best scenes when it is longer; the same files work on TikTok.
Step 7
Label the AI content
Animey’s acceptable use and AI disclosure policy asks you to keep the file’s metadata and to use each platform’s AI label wherever one is offered. The platforms’ own rules, as of September 2026, are narrower: YouTube requires disclosure for realistic content, not for clearly unrealistic animation, but may add a label itself, and TikTok requires one for realistic AI content, accepting its own label or a clear caption, sticker or watermark. Our note on disclosure explains the background.
Vertical framing and safe zones
The vertical cut is not a squeeze. It crops a window about a third as wide as the landscape frame and scales it to 1080×1920, so each shot needs its subject inside that window. On the scene board, the 9:16 preview gives every shot a crop handle: drag it, or use the arrow keys, to follow the character who speaks. Burned-in subtitles sit above the bottom band where the apps draw their captions and buttons, and the trial watermark moves to the top right corner, just under the apps’ header row, where their interface does not cover it.
Subtitle files or burned-in subtitles
Subtitle files keep the picture clean and let viewers pick a language; burned-in subtitles are always visible, which suits feeds where a viewer may be watching without sound. Animey builds cues of at most two lines of about 42 characters, keeps each on screen for one to seven seconds, holds fast speech long enough to be read, and handles right-to-left Arabic and the line breaks of Chinese and Japanese. Burn-in comes in three styles: clean, with a soft shadow; box, on a dark band; and outline, with a dark edge.
| Platform | File | Subtitles | Good to know |
|---|---|---|---|
| YouTube | The 16:9 episode | SRT or VTT files, one per language | Chapters from timestamps: first at 0:00, at least three, 10 seconds or more each |
| YouTube Shorts | The 9:16 cut or a 9:16 scene clip | Burned in | Vertical or square, up to three minutes |
| TikTok | The 9:16 cut or a 9:16 scene clip | Burned in | An AI label (its own, or a clear caption, sticker or watermark) is required for realistic AI content |
Published after launch. We will measure this on real episodes and add the figure here, with its date.
Source: Animey usage data, first quarter after launch
Starting from scratch? The one-afternoon guide covers every step before the render, and shots, cameras and pacing shows how to frame for both formats.
Questions this answers
- What are the best export settings for an anime episode on YouTube?
- A 16:9 1920×1080 MP4 at the frame rate it was made in, with H.264 video, AAC audio at 48 kHz and a fast-start index. Animey renders at 24 fps with audio mixed to −14 LUFS, so the file needs no conversion before upload.
- Can I turn a long episode into YouTube Shorts?
- Yes. Shorts must be vertical or square and last up to three minutes, so post the 9:16 cut of a short episode, or the 9:16 scene clips of a longer one.
- How do I add chapters to an Animey episode on YouTube?
- Copy the scene start times from the episode’s review link into the description, starting at 0:00. YouTube needs at least three timestamps in ascending order, with chapters of at least 10 seconds, so an episode of two scenes cannot have chapters.
- Should subtitles be burned in or uploaded as files?
- Upload SRT or VTT files on YouTube so that viewers can choose a language, and burn subtitles into the vertical version for Shorts and TikTok. Rendering is free, so make one render for each.
Start your own series
Describe your world, cast your characters and plan your first episode, scene by scene.
Start free